Published On August 4 , 2023

Living in Long Island, New York, means dealing with a variety of weather conditions that can take a toll on your roof. One of the most common issues homeowners face is a leaky roof. A leaky roof can lead to extensive damage and costly repairs if not addressed promptly. In this article, we will guide you through the process of fixing your leaky roof if you live in Long Island. From understanding the common causes of roof leaks to providing step-by-step instructions for patching minor leaks, as well as knowing when to call a professional for major repairs, we will equip you with the knowledge and tools necessary to protect your home from further damage and ensure a leak-free roof.
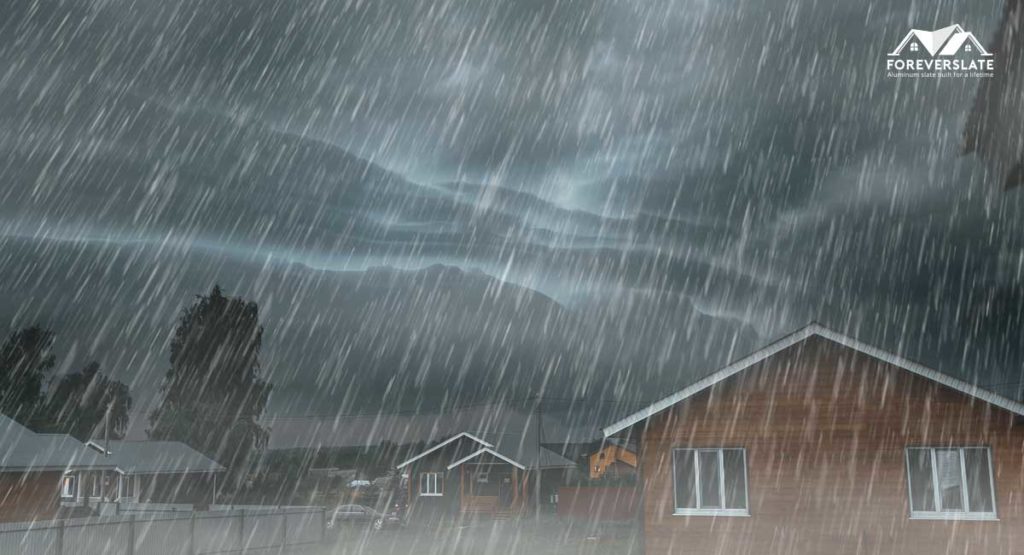
Living on Long Island means dealing with all sorts of unpredictable weather. From heavy rainstorms to blistering heatwaves, the weather can wreak havoc on your roof. One common cause of leaks is heavy rainfall, which can wear down the roof’s protective layers and create holes or gaps for water to seep through. Additionally, strong winds can dislodge shingles or damage the flashing, leaving your roof vulnerable to leaks.
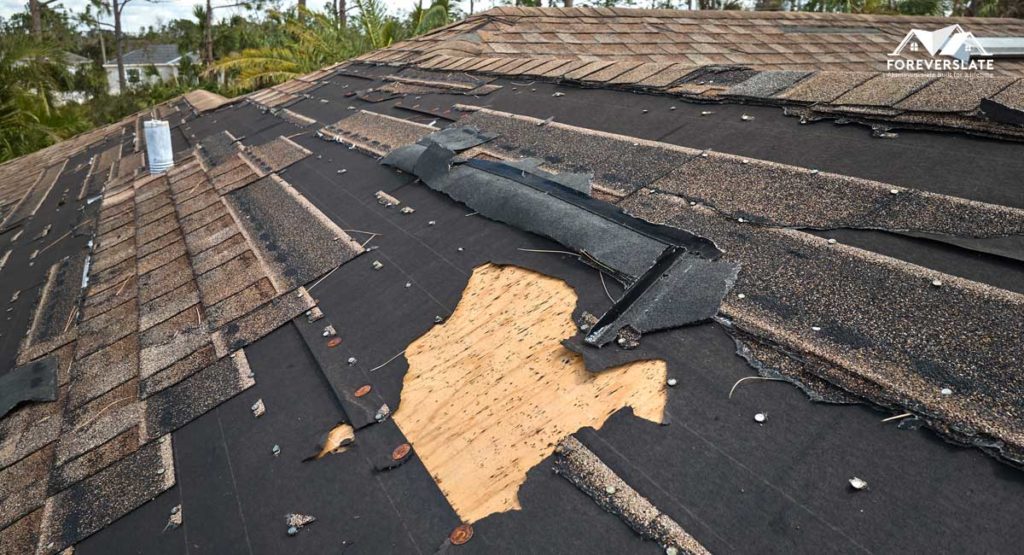
Just like the rest of us, roofs age over time. With the constant exposure to the elements, it’s no surprise that wear and tear can lead to leaks. Shingles can become cracked or curled, allowing water to seep underneath. The flashing, which is the thin metal strip that seals the gaps between your roof and other surfaces, can also deteriorate over time. As your roof ages, these issues become more common, so it’s essential to keep an eye out for signs of wear and address them promptly.
Before diving headfirst into fixing your leaky roof, it’s crucial to assess the situation and understand the extent of the leak and any potential damage. Grab a flashlight and head up to the attic to look for any water stains or damp spots on the ceiling or walls. Take note of the location and size of the leak. This information will help you determine the best course of action and whether you can handle the repair yourself or need to call in a professional.
Essential tools and materials for fixing a leaky roof
Now that you’ve identified the cause and extent of the leak, it’s time to gather the necessary tools and materials for the repair.
Here’s a handy checklist to get you started:
Gathering necessary supplies
With your tools and materials at the ready, it’s time to start fixing that leaky roof. Make sure you have everything you need within reach to avoid any unnecessary trips up and down the ladder.
Locating the source of the leak
Now that you’re up on the roof, it’s time to play detective and locate the source of the leak. Look for any damaged shingles, cracked flashing, or gaps where water might be seeping through. Remember the findings from your assessment in the attic, as they’ll guide you to the most likely locations.
Repairing the damaged area
Once you’ve found the culprit, it’s time to swing into action. Use your putty knife to remove any old sealant or damaged shingles around the area. Clean the surface thoroughly and apply a generous amount of roofing cement or sealant, ensuring that the damaged spot is completely covered. If you’re dealing with a damaged shingle, carefully remove it and replace it with a new one, securing it with roofing nails.
Testing the repair and ensuring proper sealing
With the repair complete, it’s time to test its effectiveness. Grab a hose and gently spray water over the repaired area. Keep an eye out for any signs of leakage. If everything looks dry and snug, you’re good to go. If not, you may need to reassess and apply additional sealant or consider seeking professional help.
Remember, tackling minor roof leaks on your own can save you time and money. However, if the damage is extensive or you feel unsure about the repair process, don’t hesitate to call a professional roofing contractor. Happy fixing, Long Islanders!
Tackling major roof leaks: when to call a professional
So, you’ve discovered a major leak in your roof and panic is starting to set in. Don’t worry, Long Islander, you’re not alone. Dealing with major roof leaks can be a daunting task, and sometimes it’s best to leave it to the experts.
If the leak is extensive, you can’t locate the source, or you simply don’t feel confident in your DIY skills, it’s time to call in the cavalry. A professional roofing contractor (insert web link) knows the ins and outs of fixing leaks and can ensure the job is done right the first time. Plus, they have all the fancy tools and expertise to tackle even the trickiest of leaks. So, don’t be too proud to ask for help. Your leaky roof will thank you.
Remember, a well-maintained roof is a happy roof. And a happy roof means a dry, cozy home. So, take care of your roof, fellow Long Islander, and it will take care of you.
By following the tips and steps outlined in this article, you can effectively fix your leaky roof if you live in Long Island. Remember to stay proactive in maintaining your roof to prevent future leaks and extend its lifespan. Regular inspections, prompt repairs, and implementing preventive measures will go a long way in protecting your home from water damage. If you encounter major leaks or are unsure about any aspect of the repair process, seeking professional assistance is always a wise decision. With proper care and attention, you can enjoy a leak-free roof and peace of mind for years to come.
Will fixing a minor roof leak on my own be sufficient?
Fixing a minor roof leak is possible for homeowners with basic DIY skills. However, it is important to assess the extent of the damage and consider the underlying cause. While you may be able to patch a small leak temporarily, it is recommended to consult a professional roofer to inspect and address any potential underlying issues to ensure a long-lasting and effective repair.
How often should I inspect my roof for potential leaks?
Regular roof inspections are crucial for early detection of leaks and other roof issues. It is recommended to inspect your roof at least twice a year, preferably during the spring and fall seasons. Additionally, it is important to inspect your roof after severe weather events, such as heavy storms or strong winds, to identify any potential damage that may have occurred.
What preventive measures can I take to avoid future roof leaks?
There are several preventive measures you can take to minimize the risk of roof leaks. Regularly clean your gutters and downspouts to prevent clogs and ensure proper water drainage. Trim any overhanging tree branches that could potentially damage your roof during storms. Conduct regular inspections for cracked or damaged shingles and replace them promptly. Additionally, consider applying a roof sealant or coating to provide an extra layer of protection against water infiltration.
Meet Cris – a seasoned construction industry professional with over 15 years of hands-on experience in building and managing residential, commercial, and industrial projects. He started as a laborer and worked his way up to become a project manager. Cris is passionate about sharing his knowledge and insights with others who are interested in building construction. He has a degree in architecture and is constantly reading and researching to stay on top of the latest trends, materials, and techniques. His aim is to help people better understand the complexities of the industry and make informed decisions when it comes to building their own structures.
